Mac-nginx下codeigniter域名服务访问
我们通过localhost访问php页面,如何使用自定义域名服务在本地生效呢?
1.修改nginx配置文件
文件位置:/usr/local/etc/nginx/nginx.conf
 server {
    listen       80;
    #域名服务支持
    server_name  ksnowlv.com www.ksnowlv.com;
    #目标目录
    root   /Users/ksnowlv/Movies/PHP/CodeIgniter;

    # redirect server error pages to the static page /50x.html
    #
    error_page   500 502 503 504  /50x.html;
    location = /50x.html {
        root   html;
    }


     # set expiration of assets to MAX for caching
    location ~* \.(ico|css|js|gif|jpe?g|png)(\?[0-9]+)?$ {
            expires max;
            log_not_found off;
    }

    location / {
            # Check if a file or directory index file exists, else route it to index.php.
            try_files $uri $uri/ /index.php;
    }

    # pass the PHP scripts to FastCGI server listening on 127.0.0.1:9000
    #
    location ~ \.php$ {
        #root           /Users/ksnowlv/Movies/PHP/CodeIgniter;
        fastcgi_pass   127.0.0.1:9000;
        fastcgi_index  index.php;
        fastcgi_param  SCRIPT_FILENAME $document_root$fastcgi_script_name;
        include        fastcgi_params;
    }

}
2.添加ip和域名服务的绑定
打开etc目录下的hosts文件,在文件末尾添加对域名服务的支持。
# Host Database
#
# localhost is used to configure the loopback interface
# when the system is booting.  Do not change this entry.
##
127.0.0.1	localhost
255.255.255.255	broadcasthost
::1             localhost
fe80::1%lo0	localhost
#添加对域名服务www.ksnowlv.com的支持。
127.0.0.1	 www.ksnowlv.com
3.修改codeigniter中php配置文件对域名服务的支持
编辑Codeigiter/application/configconfig.php文件。
原有的
|
|
修改为
|
|
4.启动nginx和php服务
#如果已启动过nginx服务,可以使用sudo nginx -s reload 来重启.
ksnowlv@ksnowlvdeMacBook-Pro~/Movies/PHP$sudo nginx
Password:
ksnowlv@ksnowlvdeMacBook-Pro~/Movies/PHP$sudo php-fpm
ksnowlv@ksnowlvdeMacBook-Pro~/Movies/PHP$
此时nginx和php服务启动完成。
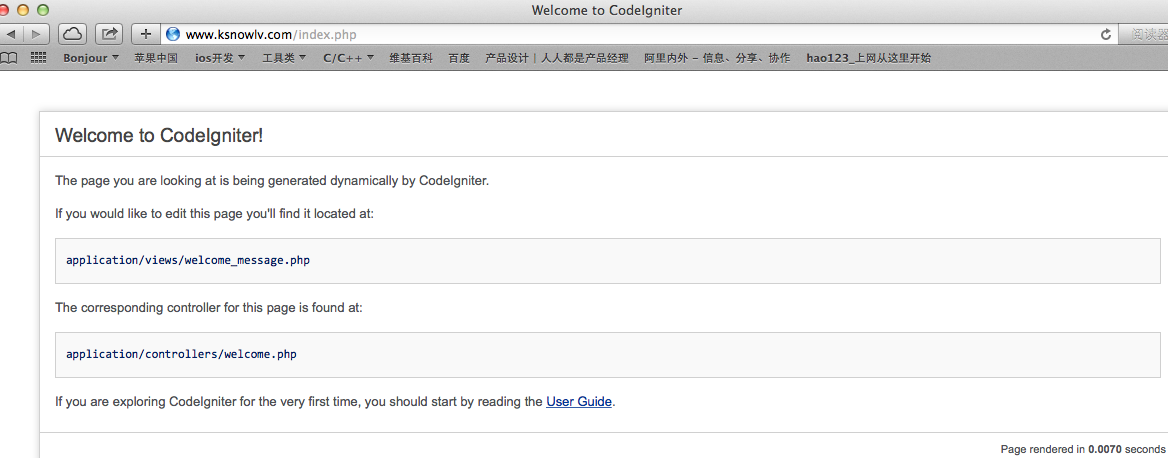
5.验证
在浏览器打开http://www.ksnowlv.com/index.php,即可看到Welcome to CodeIgniter!欢迎页面。
至此,关于CodeIgniter的基本安装配置已经OK.下一步,直接投入实战吧!
另外:和磊兄聊的时候,原来已经投身手机游戏开发,赞一个!