Mac-nginx下CodeIgniter的安装配置
经过筛选对比,php开发框架,我选择了CodeIgniter2.2版本。
1. CodeIgniter下载安装
下载解压即可。其目录结构:

详情参看相关开发文档
2.修改nginx配置文件
在/usr/local/etc/nginx打开nginx.conf进行编辑。
主要修改点:root目录指向codeigniter目录.完整内容如下:
server {
    listen       8080;
    server_name  localhost;

    #charset koi8-r;

    #access_log  logs/host.access.log  main;

    location / {
        root   /Users/ksnowlv/Movies/PHP/CodeIgniter;
        index  index.html index.htm index.php;
    }

    #error_page  404              /404.html;

    # redirect server error pages to the static page /50x.html
    #
    error_page   500 502 503 504  /50x.html;
    location = /50x.html {
        root   html;
    }

    # proxy the PHP scripts to Apache listening on 127.0.0.1:80
    #
    #location ~ \.php$ {
    #    proxy_pass   http://127.0.0.1;
    #}

    # pass the PHP scripts to FastCGI server listening on 127.0.0.1:9000
    #
    location ~ \.php$ {
        root           /Users/ksnowlv/Movies/PHP/CodeIgniter;
        fastcgi_pass   127.0.0.1:9000;
        fastcgi_index  index.php;
        fastcgi_param  SCRIPT_FILENAME $document_root$fastcgi_script_name;
        include        fastcgi_params;
    }

    # deny access to .htaccess files, if Apache's document root
    # concurs with nginx's one
    #
    #location ~ /\.ht {
    #    deny  all;
    #}
}
当时在这折腾了半天,试了不少坑爹的做法。
3.启动nginx和php服务。
#如果已启动过nginx服务,可以使用sudo nginx -s reload 来重启.
ksnowlv@ksnowlvdeMacBook-Pro~/Movies/PHP$sudo nginx
Password:
ksnowlv@ksnowlvdeMacBook-Pro~/Movies/PHP$sudo php-fpm
ksnowlv@ksnowlvdeMacBook-Pro~/Movies/PHP$
此时nginx和php服务启动完成。
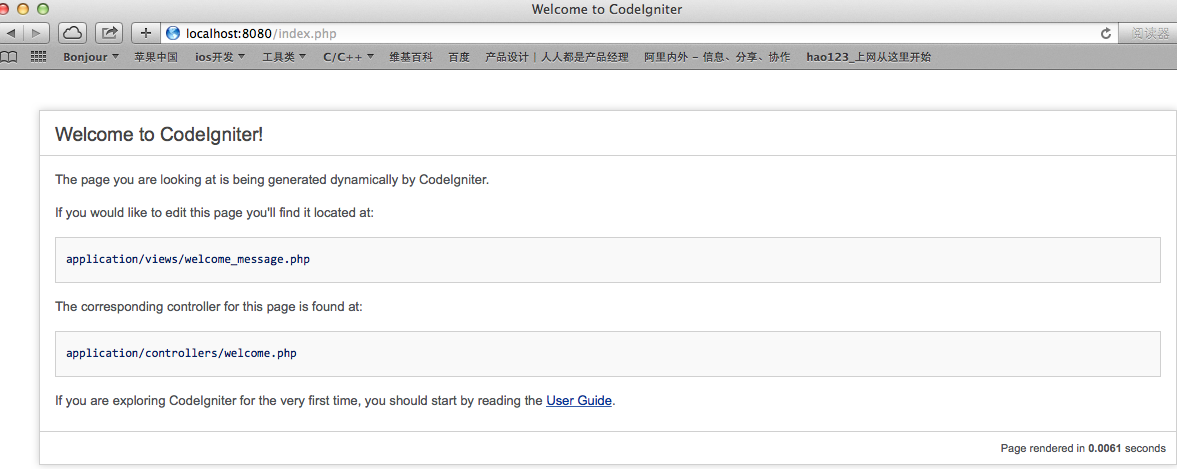
4.效果验证
在浏览器打开http://localhost:8080/index.php,即可看到Welcome to CodeIgniter!欢迎页面。
其它:和凡兄聊的时候,原来已经身在大百度做智能交通,good luck!
能做自己喜欢做的事,挺爽!